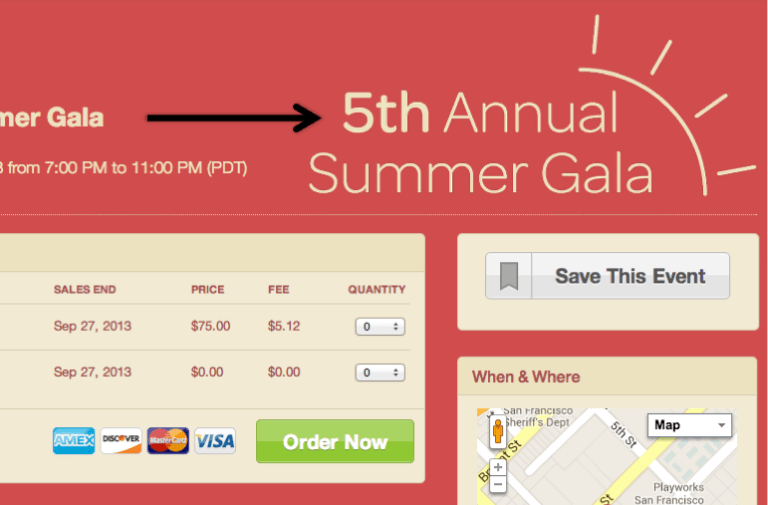
We know you want your attendees to have the best experience possible while they’re registering for your event, and we also know that you want to put your best face forward. First impressions are everything, right? Luckily, it only takes a few steps to create a well-designed page that shows off your special event.
1. Write your event details.
A polished event page starts with well-written event details (the first things you’ll fill out when you create an event). Give your event a clear and informative title — “Gourmet French Cooking: Beginner’s Class” is better than “Cooking Class,” for example. Next, write an event description that tells people what makes your event one-of-a-kind and what they should expect. Note any fine print like ID requirements, parking instructions, dress code and more. Finally, use the formatting buttons in the event description toolbar to make sure your event description is visually-appealing and easy to read!
2. Add a logo.
Logos appear in the upper-right corner of your event page, and lend credibility and help visitors to your page know who’s organizing the event. If you don’t have a logo, you can use a photo that represents your event. Add a logo in the “Upload Logo” section on the Edit page while you’re creating your event.
3. Choose a color theme.
Make your event page stand out! Choose from 15 ready-made color themes on the Design page while you’re creating your event. Try a few and get a live preview of your event page, so you can see what it will look like to your attendees. If you’re feeling creative or want to match your own website, you can also choose to design your own color scheme.
And that’s all you need to know to create a visually-appealing event page that will impress your guests and get them excited to register for your event. If you’re ready to get started, create your event now! And if you’ve got further questions, leave them in the comments below.


